Showing posts with label Copic Markers. Show all posts

Monday, May 25, 2015

Copic Sketch Marker Storage - Part 2

And then Pinterest strikes again. I saw a custom made bag that a woman designed. My daughter and I sat down to design a bag for me. It was quite a challenge, but we had a great time with the process.

We used 2 fabrics, one for the outside and one for the liner.


We first drew out a pattern by measuring the grid that will be inside to hold the markers.


This project was quite the challenge, but it was fun seeing it come together.  The top has zippers on both sides and velcro across the front flap.


There are also pockets on each end for any extras (right now my color matching shots are there).

Then comes the fun part - putting the grid in and adding the markers!!


We put long handles on the bag to facilitate carrying!


I'm really loving this bag!

Monday, May 11, 2015

Copic Sketch Marker Storage - Part 1

As my collection of Copic Sketch Markers has grown, my storage needs have changed. I started very small, just a bag with a zipper. Somewhere on Pinterest, I saw storage using a fluorescent light fixture insert in the shape of a grid. So I made one for a small Art Bin plastic storage box. Then  I had to move on to a bigger container, a square 31 bag.


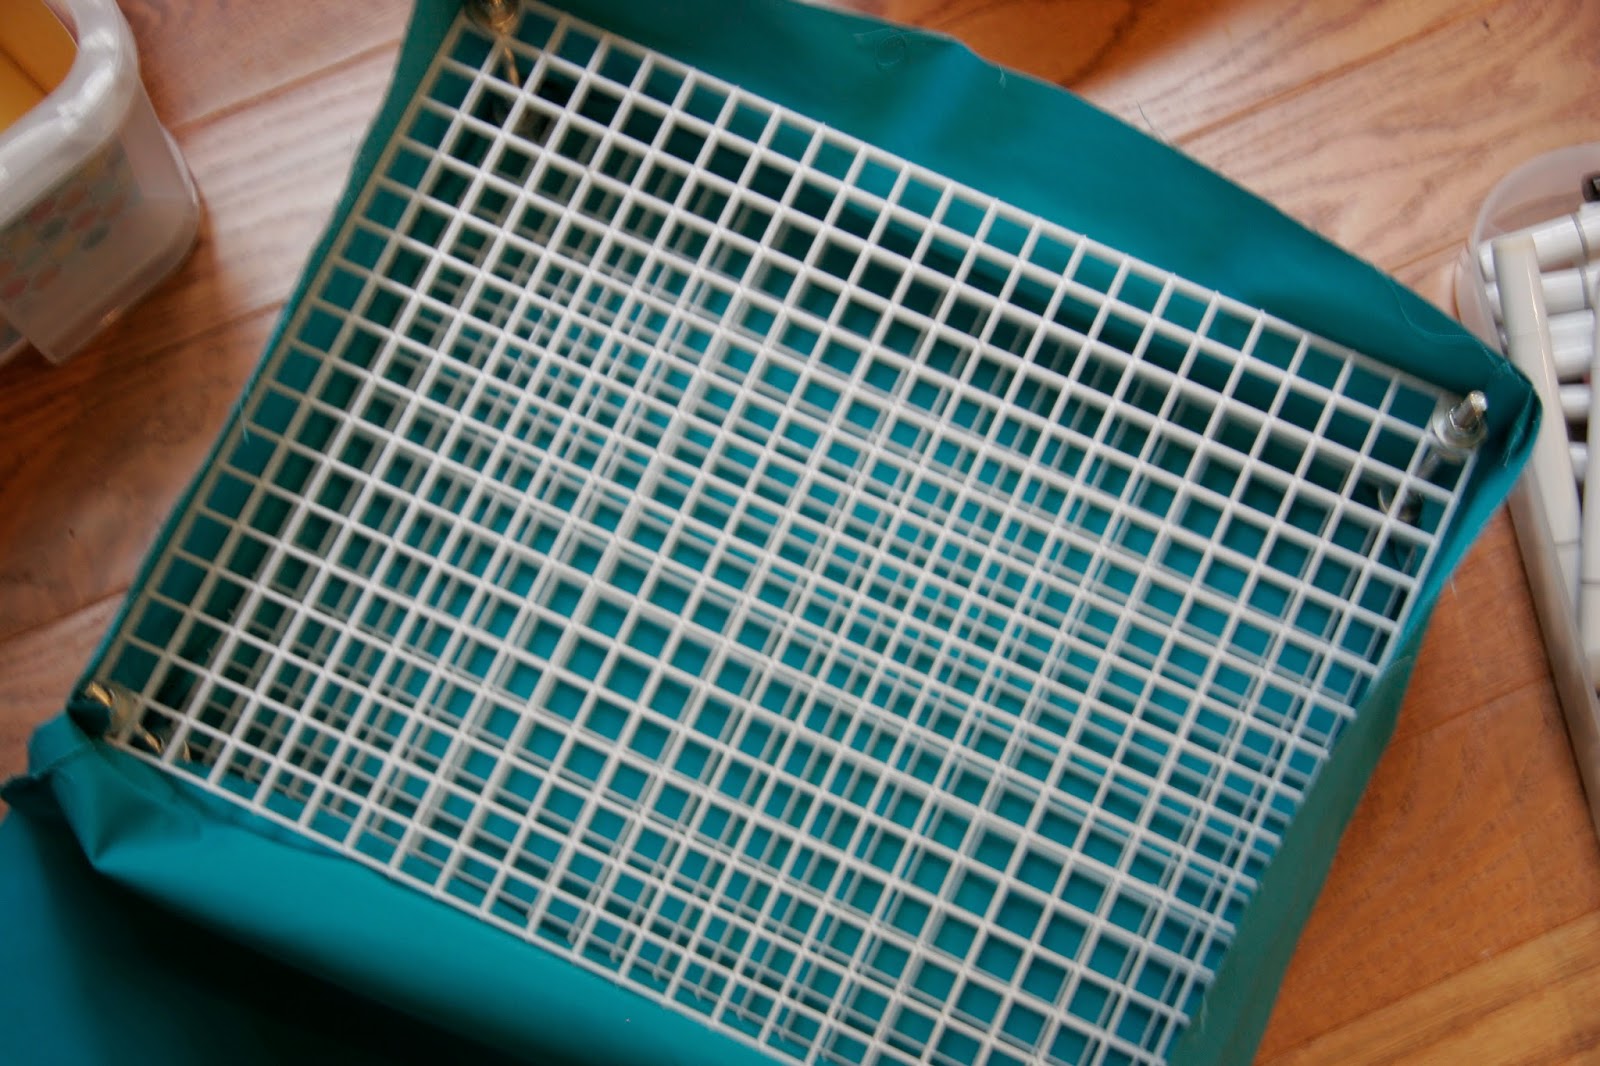
Then, I moved up to a 17 litre Really Useful Box. The light grids are held together using carriage bolts, washers and lock nuts.

T


The bottom corners were a bit of a challenge as they curve in slightly. We cut out the corner pieces to make it fit.


Then I put the markers in. 


I wanted the box to be a bit more decorative, so I added patterned paper to the sides and top.


Please see part 2 of the post for the final project!!


Friday, March 6, 2015

Love Anniversary Card

This is a card I made for my in-laws anniversary. I took this opportunity to play with the Copic airbrush system. Using the stencil Leaf & Flourish, Hero Arts/Basic Grey I used Copic Markers Y17, BG05, and YG09.


The sentiment, love, is a Stampin' Up die cut from Expressions. The cardstock mat is also Stampin' Up Tempting Turquoise.


I added a few Darice sequins, 5mm and 8mm, in Crystal.  It was fun playing with the airbrush!

Wednesday, August 27, 2014

L'il Hoots Bears - Hero Arts

This is the last of the most recent group of cards for kids that I will send to Operation Write Home.  I love how easy this stamp set - L'il Hoots by Hero Arts - is to color with my Copic Markers.


Both papers are from Stampin' Up. The patterned paper is from the Fresh Prints collection and the cardstock is More Mustard.


The sentiment is from the same set and is stamped in Memento Tuxedo Black Ink.  The paper I use to color on is X-Press It Blending Card and the Copic colors I used were:


Loved coloring this stamp set!!

Wednesday, August 20, 2014

L'il Hoots Elephants

Here is another card from the group of Copic colored cards I assembled.  The elephants are adorable! This is from the Hero Arts stamp set L'il Hoots, which is one of the Operation Write Home sets.


The Copics colors I used are:


The plain cardstock is Stampin' Up More Mustard. The sentiment is from the same stamp set, stamped with Memento Tuxedo Black Ink.


Adorable elephants!!

Wednesday, August 13, 2014

Daniel

A while back, I posted the digi from The Greeting Farm - Daniel - after I had been coloring and experimenting with different colors for hair.


I finally got around to making cards with the image:


The plain cardstock is Stampin' Up (Elegant Eggplant and Gumball Green). The patterned paper is from a Studio Calico 6x6 pad.


The sentiment is from Paper Smooches Bold Buzzwords, stamped with Memento Tuxedo Black ink. I edged the outside of the sentiment cardstock with the YG25 marker to make it stand out against the background. Daniel was colored with Copic Markers in the following colors:


It was kind of fun working outside my normal comfort zone - blue hair can be fun!!


Monday, August 11, 2014

Alvin & Julie

Here is another adorable stamp from Sandy Allnock and Whimsy Stamps - Alvin & Julie!


The cardstock is Stampin' Up Lucky Limeade and Strawberry Slush.  The patterned paper is from the 6x6 stack Wonderful Day by Fancy Pants.


The sentiment is from the same stamp set stamped in Memento Tuxedo Black Ink.  The coloring is done with Copic Markers in the following colors:


I hope there is a happy child when they receive this card!!

Friday, June 20, 2014

Kids Copics Cards

I have been on the lookout for stamp images that work well for kids cards for OWH.  Hero Arts had some sets that are perfect and that are a fund raiser for Operation Write Home as well!


The stamp set, L'il Hoot (Hero Arts), now also has matching dies so no more fussy cutting (I don't do it that well)!!


I colored them with copics, opting for a not-so-realistic owls. The stamp set also has some great sentiments to go along with the images.  Now, off to put them on some cards!


Wednesday, March 19, 2014

Playing with Copic Colors

I have this wonderful boy stamp from The Greeting Farm - WS Daniel (digital).  I have seen lots of hair colorings that are "outside" the normal hair color.  I decided that this image might lend itself to the unusual, so I gave it a try.


Of course, wild hair needs wild clothes to match!  This little guy will go on an OWH card in the very near future!

Monday, September 9, 2013

Copic Framed Picture

One of the beautiful images that we practiced coloring on at the Copic Certification Classes was one of my favorite flowers - the lilac!


After returning from the classes, I decided I wanted to re-color the image and see if I felt it was good enough to frame and hang in my house.  This is how it turned out!


I am lucky enough that my Dad frames pictures as a hobby, so I got a mat and already had a 12x12 scrapbook page frame.


I love the way it turned out!  Now I just need to find the perfect place to hang it!


Thursday, July 25, 2013

New Copic Box

I have been looking for a new "home" for my copic markers.  My 31 bag was good for a while, but it was too deep and the bottom of the make-shift filler was allowing the bottom to sag, thus making access to some of the markers quite difficult.

I looked all over for a decorative box that wasn't too deep, had a secure lid, had handles for easy moving, etc.  I also wanted it to be big enough that this could be my last box. I was not so successful at finding one that fit all my needs.  As I was wandering through Staples one day, I noticed a plastic box that seemed to fit all my needs!  It is made by the Really Useful Box company (made in the USA as a bonus), 17 ltr size.


 I emptied out my old box to get to the pieces parts for the new grid.  I was feeling really lazy and didn't want to put all the markers in one big pile to sort out later.  I put a bunch of plastic cups hiding in the closet to use.


Then we got the florescent light grid (the old fashioned kind) from Home Depot and took the carriage bolts, washers and lock nuts from the old grid.  We measure the grid to fit in the new box.


Because I wanted something more decorative than clear plastic, I decided to try and decorate my own.  I took Designer Paper from Stampin' Up from the Quatrafancy design.  I cut pieces to fit the sides, ends and part of the top.  I would like to find a way to cover all the sides and top.


Time to put both the grid and the markers back in!


I took the whole box with me yesterday to a crop. All the markers stayed in place, even when I turned the box sideways for transport.  It also has room to grow so that in the event I ever get all the Sketch Markers, there is room for them!

Sometimes function beats pretty!


Monday, June 24, 2013

Practice, Practice, Practice

So, what we heard as kids - if you want to master a skill - practice!  This is especially true with Copic Markers.  After attending the Certification Classes, I've been practicing.  If you can't get to a class, I would suggest the book series, Copic Coloring Guide by Colleen Schaan and Marianne Walker (Annie's Paper Crafts).  They are fabulous!  Currently there are 3 volumes with Volume 4 set to come out any day now!


After returning from the classes, I pulled the Level 3: People back out. Levels 2 & 3 both come with CD's as a bonus!  The CD with Level 3 has pages with multiple faces/hair to practice coloring.  Those are the things I struggle most with.  So, I have been practicing, practicing, practicing.........


I made sure to use the same cardstock to print the practice sheets that I normally stamp my images on so that the colors will be the same.  I have been using X-Press It Blending Card, designed to use with Copics.


Some of the combos I like, some not so much.  I have 3 hole punched them and put them into my Copic reference notebook.  Now, I can just look at these pages and pick the combination that I want to use.


Now, I am going to try and take on some images to use on cards and hopefully feel better about my "people" and how they look!

So, practice, practice, practice.  It does pay off!!