Monday, May 25, 2015

Copic Sketch Marker Storage - Part 2

And then Pinterest strikes again. I saw a custom made bag that a woman designed. My daughter and I sat down to design a bag for me. It was quite a challenge, but we had a great time with the process.

We used 2 fabrics, one for the outside and one for the liner.


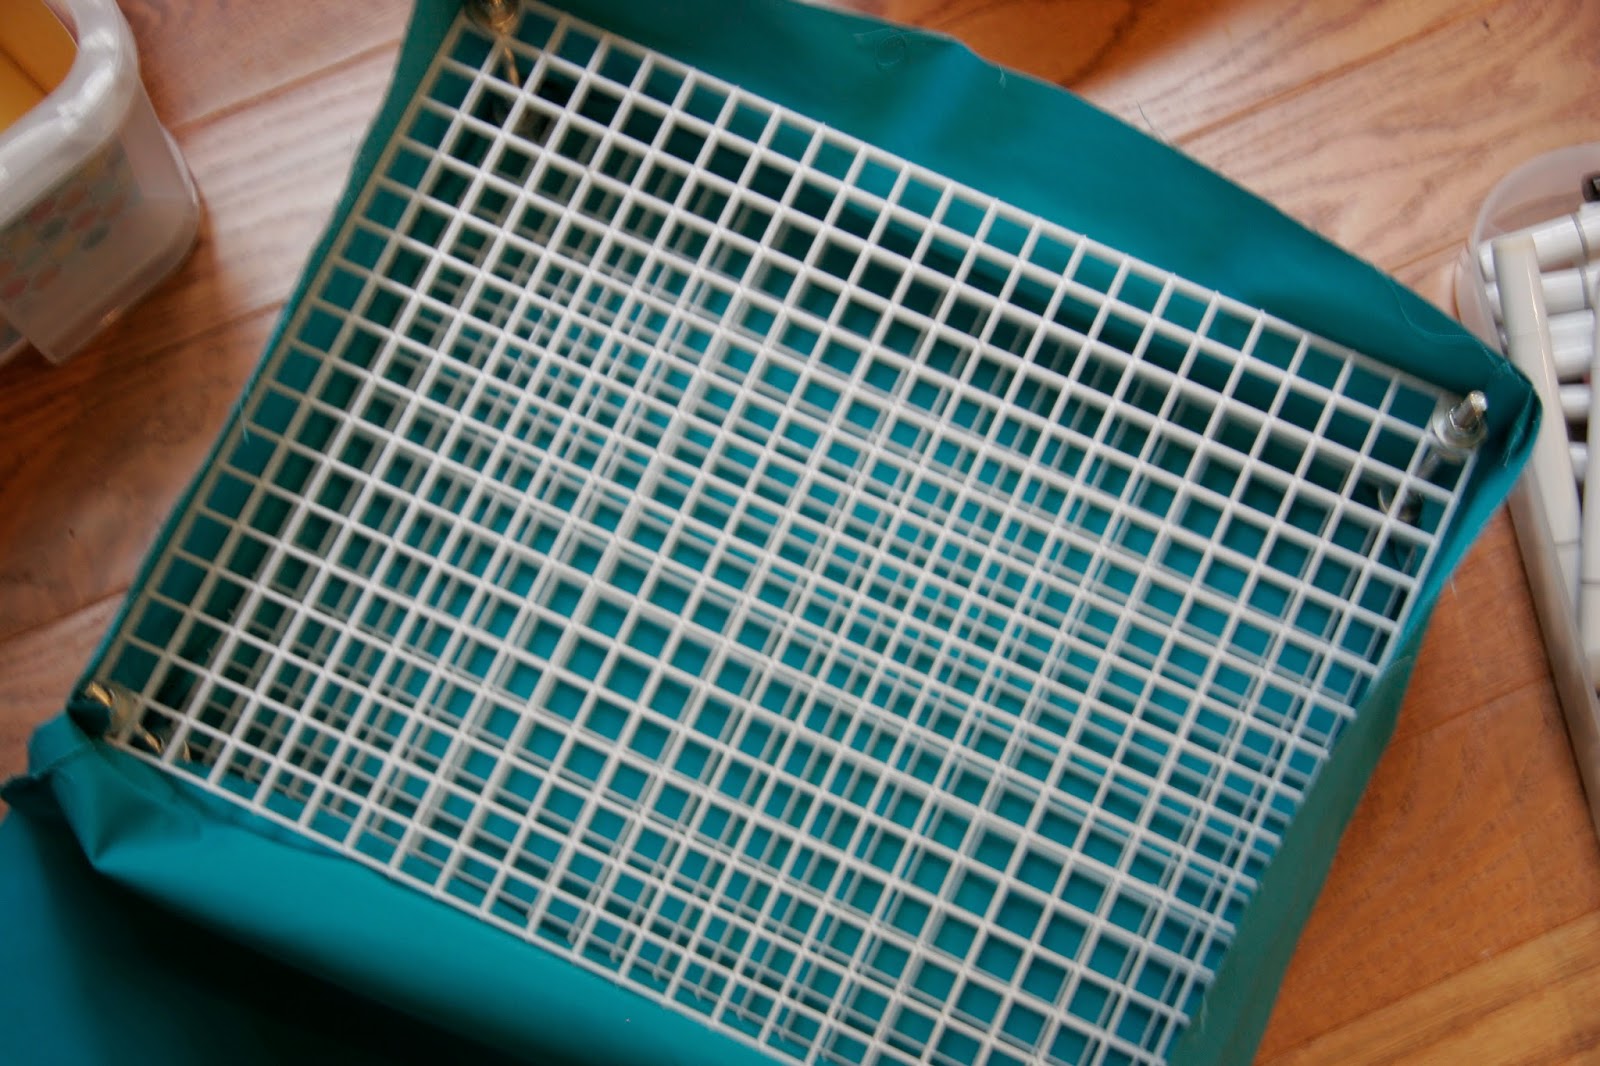
We first drew out a pattern by measuring the grid that will be inside to hold the markers.


This project was quite the challenge, but it was fun seeing it come together.  The top has zippers on both sides and velcro across the front flap.


There are also pockets on each end for any extras (right now my color matching shots are there).

Then comes the fun part - putting the grid in and adding the markers!!


We put long handles on the bag to facilitate carrying!


I'm really loving this bag!

Monday, May 11, 2015

Copic Sketch Marker Storage - Part 1

As my collection of Copic Sketch Markers has grown, my storage needs have changed. I started very small, just a bag with a zipper. Somewhere on Pinterest, I saw storage using a fluorescent light fixture insert in the shape of a grid. So I made one for a small Art Bin plastic storage box. Then  I had to move on to a bigger container, a square 31 bag.


Then, I moved up to a 17 litre Really Useful Box. The light grids are held together using carriage bolts, washers and lock nuts.

T


The bottom corners were a bit of a challenge as they curve in slightly. We cut out the corner pieces to make it fit.


Then I put the markers in. 


I wanted the box to be a bit more decorative, so I added patterned paper to the sides and top.


Please see part 2 of the post for the final project!!


Friday, April 10, 2015

Heat Embossed and Distress Ink Happy Birthday

Another birthday card for the busy family birthday season.


The background stamp is a Hero Arts/Basic Grey Diamond. I used Versamark Ink and then white embossing powder, finished with my heat gun. Then, using the Tim Holtz mini blending tool, color was added to the background over the heat embossing.


Using Bundled Sage, Peeled Paint, Stormy Sky and Faded Jeans, the color was laid down at an angle to the cardstock for interest.  The sentiment is from the Hero Arts Year Round Sentiments set. It, too, was stamped with Versamark Ink and heat embossed with white embossing powder.


The heart was die cut using Simon Says Stamps Mini Hearts die using Stampin' Up cardstock in Night of Navy. I then covered it with Ranger Glossy Accents for depth and shine.

The sentiment and the background mat are both Stampin' Up cardstock, Old Olive.

I really like the way the background came out!  I'm going to try this again using different color combinations.

Friday, April 3, 2015

Triangle Happy Birthday

Winter is the time for lots of family birthdays and anniversaries. I got some of the Hero Arts Shadow Inks in the mini cubes and played with them on this card.


The triangle background was created using the Mama Elephant Trifecta set. I used the Hero Arts Orange Soda, Butter Bar and Pale Tomato for the color, inking the stamp roughly in thirds, each third with a different color.


The sentiment is from the Paper Smooches Salutations set.  I hand cut the banner for the sentiment on white cardstock, matting it with Stampin' Up Peach Parfait (retired). The triangle background was also matted with the Peach Parfait

To finish off the sentiment banner, I add three enamel dots from My Mind's Eye Chalk Studio 2.  


Friday, March 27, 2015

Make a Wish

Make a Wish is a birthday card that doesn't say Happy Birthday!


Starting with the Hero Arts/Basic Grey Diamond  background stamp, I stamped it in Versamark Ink and heat embossed it with white embossing powder. Using the mini blending tool from Tim Holtz to apply Distress Inks in evergreen bough, seedless preserves and broken china.  I applied in on the diagonal for interest.

I matted the background on Stampin' Up Coastal Cabana, the same used for the sentiment.


The sentiment is from Alte New Super Script 2. I really like the way the background turned out!


Friday, March 20, 2015

happy Birthday

One of the things I have been playing with is embossing paste. I used the same pattern to make two cards, one happy birthday and one i love you. Happy Birthday is from the Hero Arts Find Joy set.


The background stamp is from the set Background Builders by There She Goes. The ink colors are Stampin' Up Marine Mist, Night of Navy and Pacific Point. The mat cardstock is also Stampin' Up Night of Navy.

On the second card, I used Distress Inks  in bundled sage, crushed olive and peeled paint. 


The mat cardstock is Stampin' up  in  Always Artichoke. The sentiment stamp is from There She Goes from the Sentimental Set.


The stencil Concentric Circles  from My Favorite Things using Ranger Ink Texture Paste adds the finishing touching. It makes for a very interesting effect!!


Friday, March 13, 2015

celebrate!

Another anniversary card that I like so well I will re-create it for OWH. I started with the My Favorite Things Retro Squares Die.


The colors are all Stampin' Up cardstock, Tempting Turquoise, Gumball Green, Crushed Curry, Tangerine Tango and Real Red.


In assembly, I only used some of the inside squares from the die and reattached them using dimensional adhesive. 


The sentiment stamp is from Paper Smooches Salutations set. It is stamped in Memento Tuxedo Black Ink.

I really like the clean and simple look of this card!!

Friday, March 6, 2015

Love Anniversary Card

This is a card I made for my in-laws anniversary. I took this opportunity to play with the Copic airbrush system. Using the stencil Leaf & Flourish, Hero Arts/Basic Grey I used Copic Markers Y17, BG05, and YG09.


The sentiment, love, is a Stampin' Up die cut from Expressions. The cardstock mat is also Stampin' Up Tempting Turquoise.


I added a few Darice sequins, 5mm and 8mm, in Crystal.  It was fun playing with the airbrush!

Friday, February 27, 2015

Thinking of You with Arboscello Tree

I can't believe it has been so long since I posted! Guess I better get back on track.

This card is for my next OWH box.


The patterned background is made using a Hero Arts/Studio Calico Lattice background stamp. I stamped it in Versamark Ink and heat embossed with white embossing powder.  The colors are added using Distressed Ink Bundled Sage, Mowed Lawn and Forest Moss using the mini blending tool. It was then splashed with water. After drying, it was sprayed with Heidi Swapp Color Shine.


The tree is a die cut, Memory Box Arboscello Tree. I used the same above distress inks to color the branches and leaves and Gathered Twig for the trunk. Wink of Stella clear, although it does not show in the photograph, covers the entire tree.


The background cardstock is Stampin' Up Always Artichoke. The sentiment is from the Hero Arts Find Joy set, stamped in Memento Ink Rich Cocoa.

Although this card was a bit time intensive, I am pleased with the final result!